How Does a Laser Cutting Machine Work in 10 Easy Steps – 2024 Guide

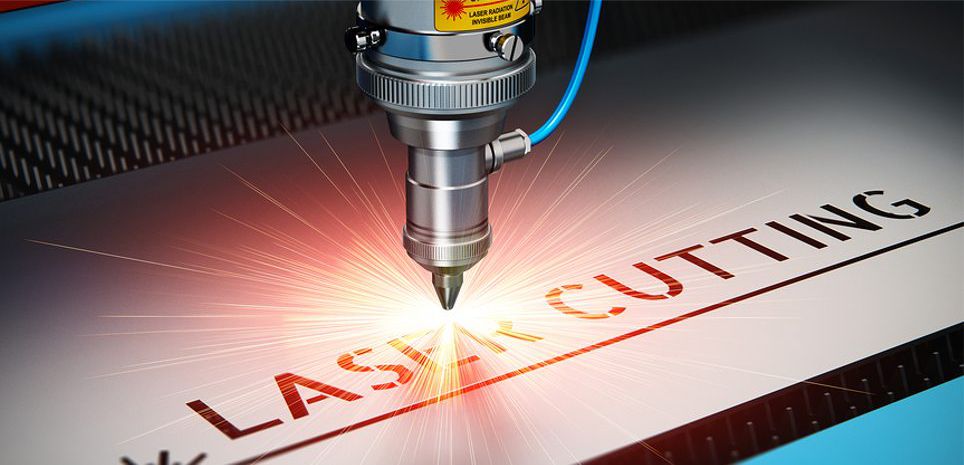
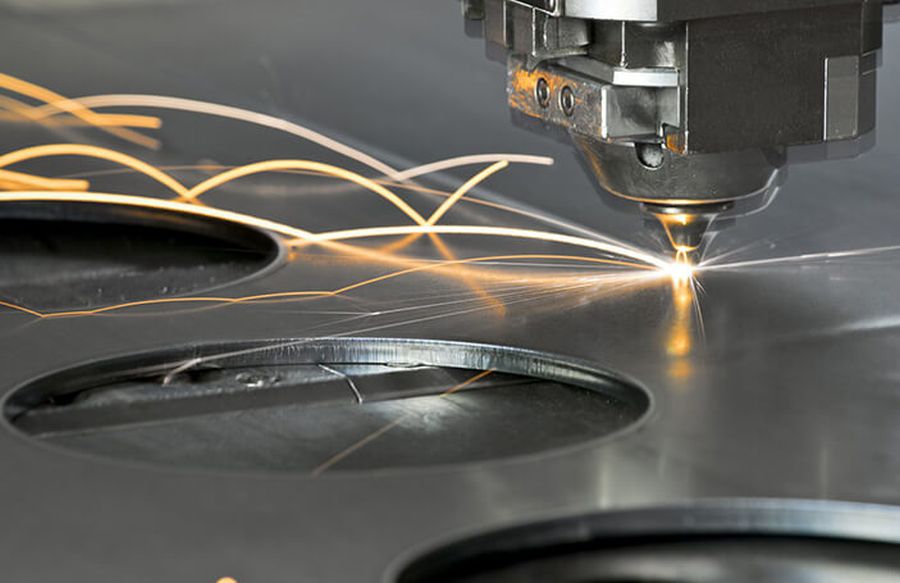
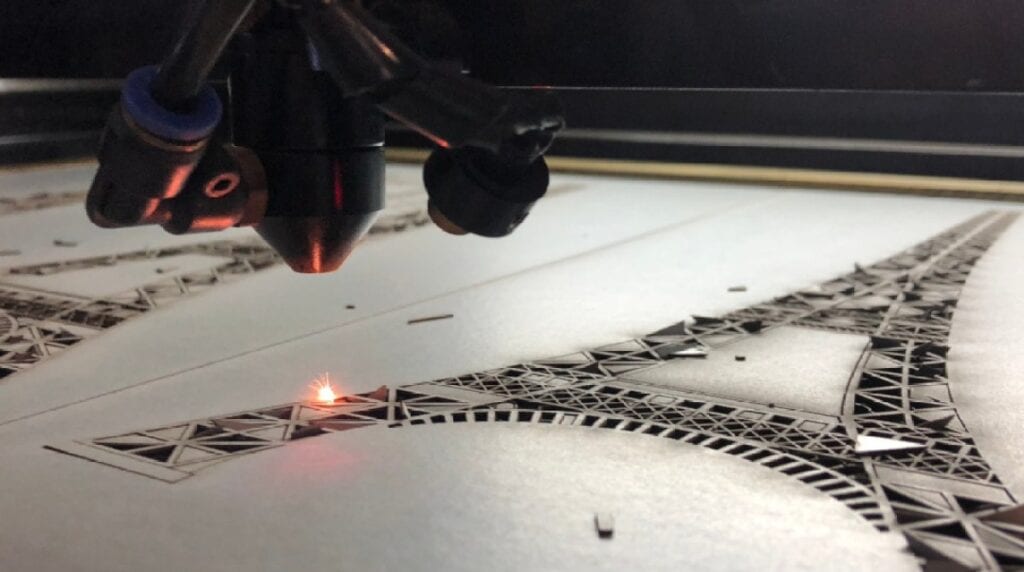
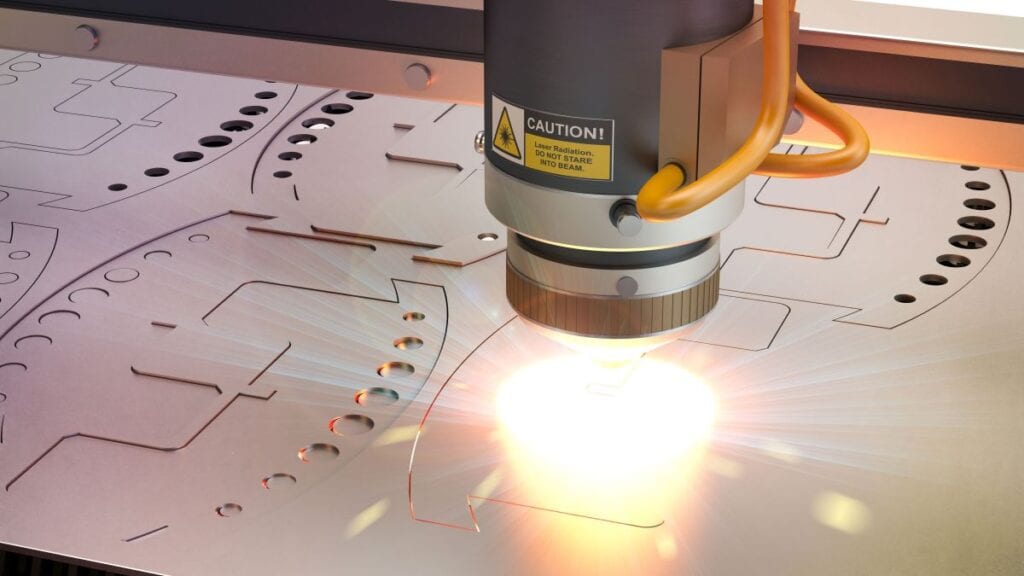
If you did some digging online, you probably already know that a laser cutting machine is used for cutting or engraving different materials. People who work with such devices need to choose a picture they would like to engrave or cut, optimize it for the process, choose a material they want, and then simply press print on the device.
However, if you never used such a device before, you might be wondering – how does a laser cutting machine work, and what does the entire process look like? Luckily for all people searching for an answer to this question, this article can help. Let’s take a closer look at the guide:
Step 01: Purchase or Lease The Device

This might seems quite obvious, however, it is still worth mentioning. There are laser cutters that you can purchase for approximately 1000 dollars, however, if this exceeds your budget, you can always contact a university in your area to ask if you can lease their machine. This means that you can complete the cutting or engraving you need to, without spending too much on it.
Step 02: Choose The Material You’ll Work on
You can use this device for working on materials such as lumber, foam, plastics, thin metal sheets, fabrics, and so on. Keep in mind, any substance that contains chlorine should not be used since it will release toxic and dangerous fumes when worked on, hence, above vinyl, printed circuit boards, and PVC. You can engrave glass, however, you won’t be able to cut it.
Step 03: Opt For a Picture
Now, this could be almost anything, from a photograph to a drawing, or you could even choose to engrave text. You should begin with a simpler picture, and then try working with more complex ones as you gain more experience with the entire engraving/cutting process. Keep in mind, you’ll want the picture to have a lot of contrast, but not a lot of shadows.
Step 04: Upload The Picture Into The Program
You can check one of the sides of the machine or the instruction manual for determining what software you’ll need to use. This means that you must upload the picture into a program that is compatible with the machine. Next, you’ll have to save the picture to your PC, open the program, and select ‘import’. Some of the most popular tools are Corel and Adobe, which you can download.
Step 05: Set All The Dimensions
According to the experts from dxtech that specialize in manufacturing home laser cutting machines, you need to ensure that the picture size is not larger than the material you choose – if so, you’ll probably end up with some parts of the picture missing. Hence, you must ensure that the size of the image suits the size of the item.
Step 06: Adjust The Device
For this, you’ll need to place the item in the center of the mat. This should be done if you want to ensure the best result possible. If it does not fit properly, you’ll need to trim it a bit, without bending either of the sides. By pressing any key, the device will test the dimensions and if it moves outside of the area, reposition the material. If you trim it, you’ll also need to change the image size.
Step 07: Clean And Set The Lens

You should begin by dampening a cotton ball with some alcohol and gently rub the lens of the machine. Once you do, you should set the lens height. Once you place it properly, you should then press the ‘adjust lens’ button if it does not do it automatically. This will ensure that it focuses the laser at the correct height.
Step 08: Do Not Forget to Turn on The Fume Extractor
You should not forget to turn on the fume extractor, most commonly located on the back of the device. By doing so, you’ll ensure that it sucks all the toxic and dangerous fumes while you are working on the item, hence, you can guarantee your safety. Again, never use a material that contains chloride, even when you are utilizing the extractor.
Step 09: Choose The Printing Settings
When you open the settings, opt for the material you are working on. This will tell the machine what it needs to do. For instance, if you are engraving glass, the pressure will probably be stronger than if you are working on foam. Also, you must choose the types of cuts you are making.
To choose the cuts, you’ll need to click on the ‘printing menu’. You’ll see a menu pop up and when it does, you’ll need to choose between two options – raster or vector. If you are cutting the picture, you’ll need to opt for vector, and when engraving, you need to choose the raster print.
Step 10: Lastly, Press ‘Print’

The last thing you’ll need to do in the entire process is to click on the print button. It is relatively simple since all you’ll need to do is press the button and watch while it is forming the picture you opted for. Keep in mind, you should not move the item since this will cause the components to be out of line.
Keep in mind, if you want to work on several copies at the same time, you must replace the finished product with a new material piece. Once you do, you won’t need to go through all of the aforementioned actions, instead, you should simply press print once again, and you’ll be good to go.
Conclusion
A laser cutting machine can help you with engraving and/or cutting specific materials such as lumber, plastics, glass, and thin sheets of metal. And, as you were able to learn from the article above, there are specific things you’ll need to do in order to properly engrave an image or text into the material you opted for.
Hence, now that you have learned what you’ll need to do in order to properly use a laser cutting machine, you might not want to lose any more time. Instead, you should return to the beginning of this guide, and start with the first task we mentioned, which is purchasing or finding a machine that you can use.


