How Do You Get Vinyl to Stick to a Rough Surface?
Vinyl is an amazing material that can help us transform any item or even a room of our choosing. No matter if you are using it for your arts and crafts projects, or if you need it for your business and brand, you definitely need to know how to stick this material on different types of surfaces. When it comes to items and products that are with smooth surfaces, chances are, the only thing that you need to do is be extremely careful and the vinyl is going to stick right from the first try. However, when it comes to other types of surfaces it can be challenging and we may have some issues getting our unit placed properly wherever we want. In this article, we are going to tell you how to get the vinyl to stick to a rough surface.
What to pay attention to?
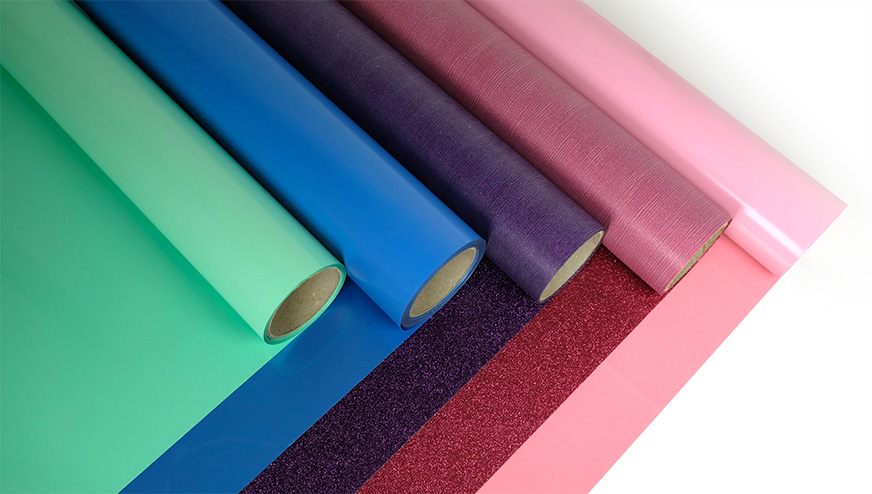
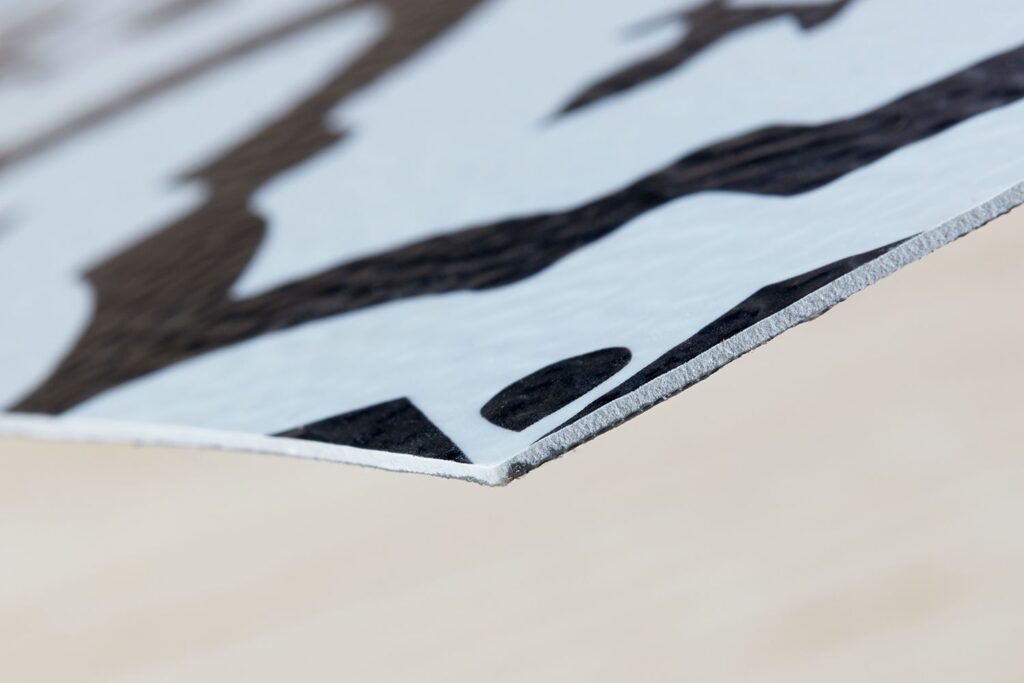
The first thing we’re going to talk about is the different types of vinyl and how to make the right choice depending on your project. As you probably know, there are two main types when it comes to sticking the unit and you can choose if you want to go with the self-adhesive option or with the heat transfer material.
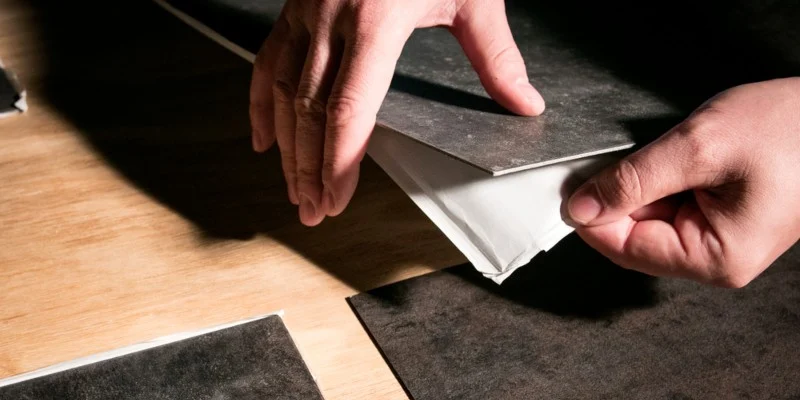
When it comes to the self-adhesive option, as you already know, the only thing that you need to do is peel off the protective cover that is placed on the back of the vinyl and then just press it onto the item where you want the unit to stick.
The second option that you have is heat transfer vinyl and for this part, there will be directly sticking adhesive, and you will need to activate it and its properties by adding heat to it. The way this is done is that you first add the vinyl on the item and then you use heat, for example, an iron, and you use the heat to get the unit to stay in place.
Note that depending on your preferences as well as the item itself you would need to first decide upon one option or the other. It is best if you can do is do full research first depending on the item’s material and see depending on the surface that you want to transfer the vinyl to if it’s better to go with the self-adhesive option or the heat transfer type.
In addition to all this, you also need to purchase your goods from the right store. As you can see if you check this, there are a lot of different types of vinyl and you need to choose the exact correct one for your project. Make sure that you always do your purchases from a trusted store and no matter if you opt for heat transfer or self-adhesive, it is best to invest in goods that are properly manufactured and that are going to do their job right from the first try.
How to get it to stick?
Now that you’ve found the right type of vinyl for your job, the next thing is to see what you can do to make sure that the unit stays in place no matter where it’s located and no matter how much time it passes since you stuck it.
In some cases, your project may seem like it’s already done and the vinyl may be stuck to the surface but after a day or even a week, you may see that the sticker is starting to peel off. Even if just one small corner is removed, sooner than later that part is going to start gathering dirt and dust and with that is going to get the whole vinyl removed.
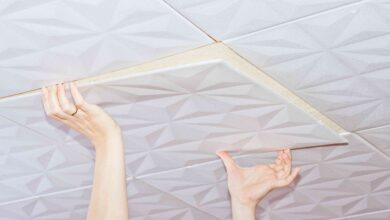
When it comes to bumpy surfaces and rough textures, the unit getting unstuck is extremely common, so you need to make sure that there are no air pockets anywhere.
The way to do this is to properly install the vinyl from the start, no matter if you’re choosing heat transfer or self-adhesive. If you cannot make sure that you will be able to transfer the heat everywhere on the sticker with the piece of equipment you’ve chosen to do that, it is better to opt for a unit that is self-adhesive or to add additional adhesive with a glue gun or something else.
If you choose to opt for the self-adhesive method then the first thing you need to do is to correctly place it on the surface of your choosing. The next thing you need to do is press firmly down with your fingers and make sure that you go into every nook and cranny so that the item stays in place. If the surface is way too rough for you to do it with your fingers or if the surface is too big and you want to get things done faster, then you can use something like a tennis ball that is going to let you apply even pressure everywhere on the sticker and do it pretty fast. Make sure that the additional equipment that you use to help you with this process is hard enough so that it presses firmly, and at the same time, it is soft enough so that it doesn’t affect or damage the vinyl.
You can use anything similar to the tennis ball, you can use even specialized tools that are going to help you do this, just make sure that there are no rough edges and that there is nothing that is going to scratch the sticker and damage the original surface.
The main thing that you need to remember is that the pressure you apply has to be enough so that the vinyl can be stuck, and at the same time you need to be really careful not to cause any damage. Make sure that the vinyl, along with any other equipment and devices you use are of high quality so that the adhesive is strong enough to withstand different types of conditions.
If needed, you can always talk to the manufacturer or seller at ask them for specific recommendations depending on the surface and the texture and where you want to stick the vinyl to. Unfortunately, not every surface is going to be vinyl-friendly so do your research and see if you can get the sticker onto the place where you want it to be. Use additional glue if needed to secure everything in place.