How To Prevent Burning During Laser Cutting – 2024 Guide
Laser cutting is the most popular method of making precise cuts and pristine clear edges on wood, metal or plastic. It certainly doesn’t get much better than that if you want excellent results. However, one of the possible drawbacks of laser cutting are the burn marks that are left when you’re done cutting something. They don’t happen often, but if you’re with the laser cutter – they will most certainly appear.
So, what can you do to prevent them? Well, believe it or not – there is quite a lot you can do to prevent burning during laser cutting. Here’s what you’ll want to do.
Use Transfer Or Application Tape
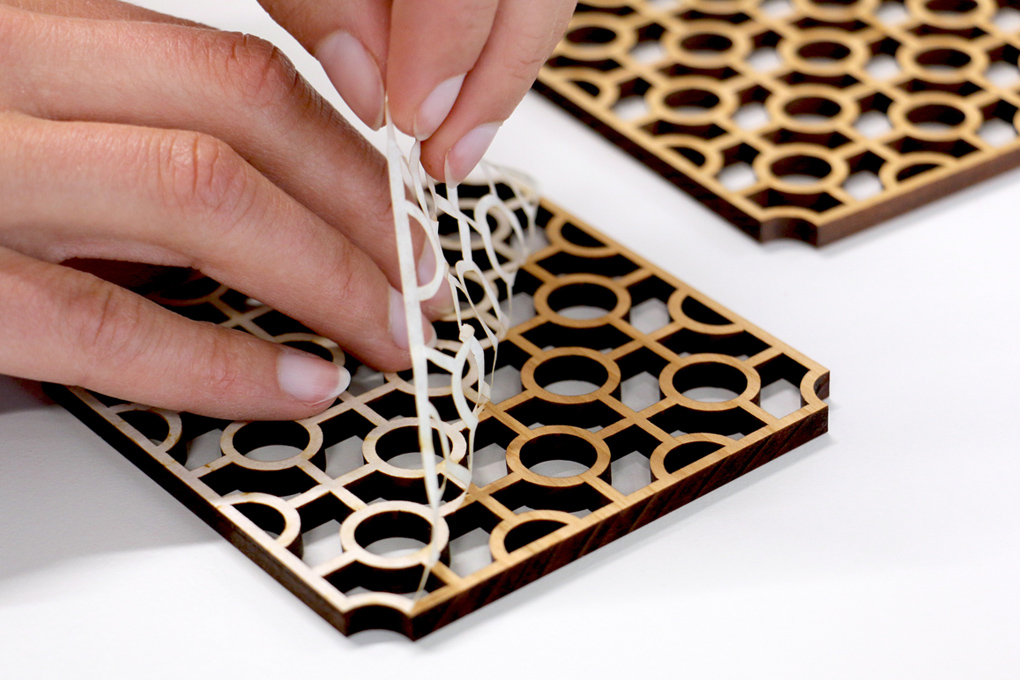
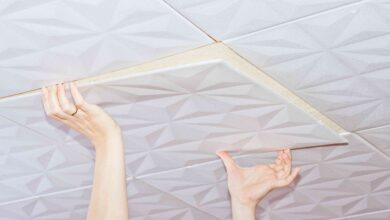
One of the most efficient ways to prevent burning is by using paper transfer tape. There is no single, more useful tool when it comes to preventing burns than paper transfer tape. It is very easy to set up, and on top of preventing the burning, the paper transfer tape will also protect the material you’re working on from getting accidentally damaged.
The only thing you have to be careful about is how you apply the paper transfer tape. You have to be delicate. The paper transfer tape must be evenly spread across the whole sheet you’re cutting, and you also have to make sure there aren’t any air bubbles left. Air bubbles will only make things worse, so flatten the paper transfer tape as perfectly as you can.
Coating Comes First
If you’re cutting wood, a neat trick you can do is coat the wood before you start cutting it. This is one of the best methods to prevent burning on the wood. Just begin by applying a coat on the surface of the sheet and simply start cutting. Even if you notice some burned residue – don’t worry. The coating will prevent it from damaging the wood grain. After you’re done with cutting, you can use a wood polish or alcohol to remove the burn or other marks off of the coating.
Soak It
Once again, when you’re cutting wood, more precisely if you’re cutting thin or small pieces of plywood or just any regular wood – dip it in water before you start. This will work best if the wood you’re cutting is thin or small because you want to really soak the wood before cutting it, and that only work well with the thin and small pieces. Either way, soaking the wood before cutting it will make it harder to burn, thus preventing those nasty black stains.
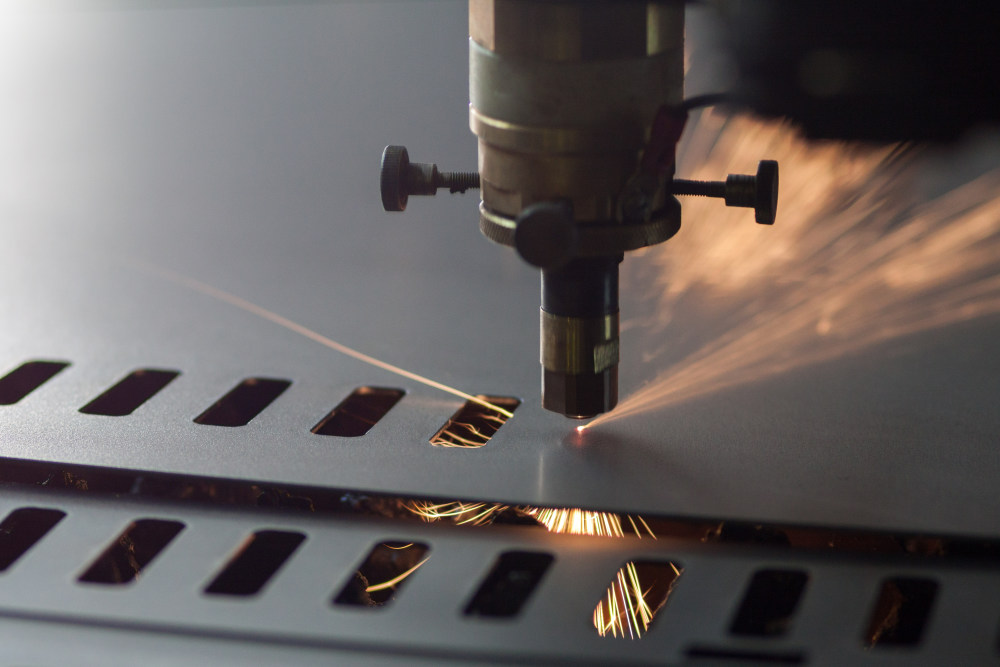
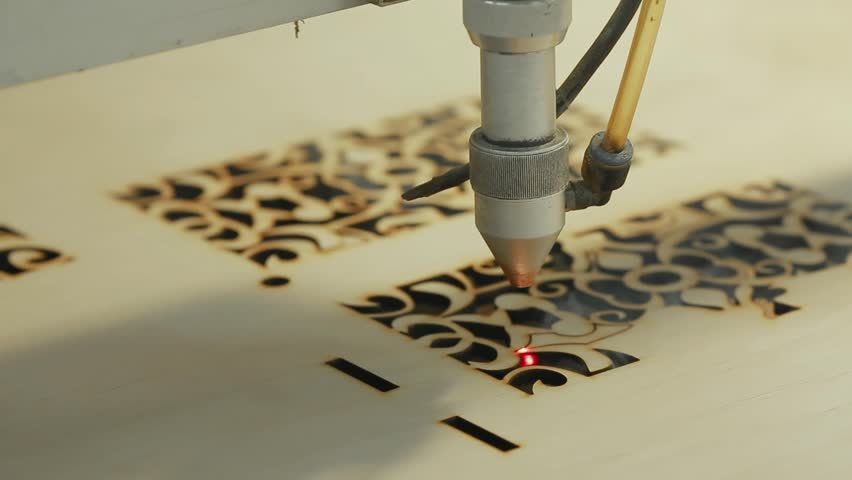
Adjust The Laser Cutter Settings
Sometimes, all you need to do is power down the machine, and you’ll be alright. It’s just like when you’re cooking – if the stove is too hot, the food will burn. The same thing applies here. If you’re overdoing it with the machine – you will most likely burn your project.
Making sure you set the ideal parameters won’t be easy. You will need some knowledge and experience to find the perfect power and speed setting to prevent burning. Naturally, this will also take some time, but after a while – you’ll get the hang of it. The more you use this machine, the better you’ll become at setting it up – it’s as simple as that.
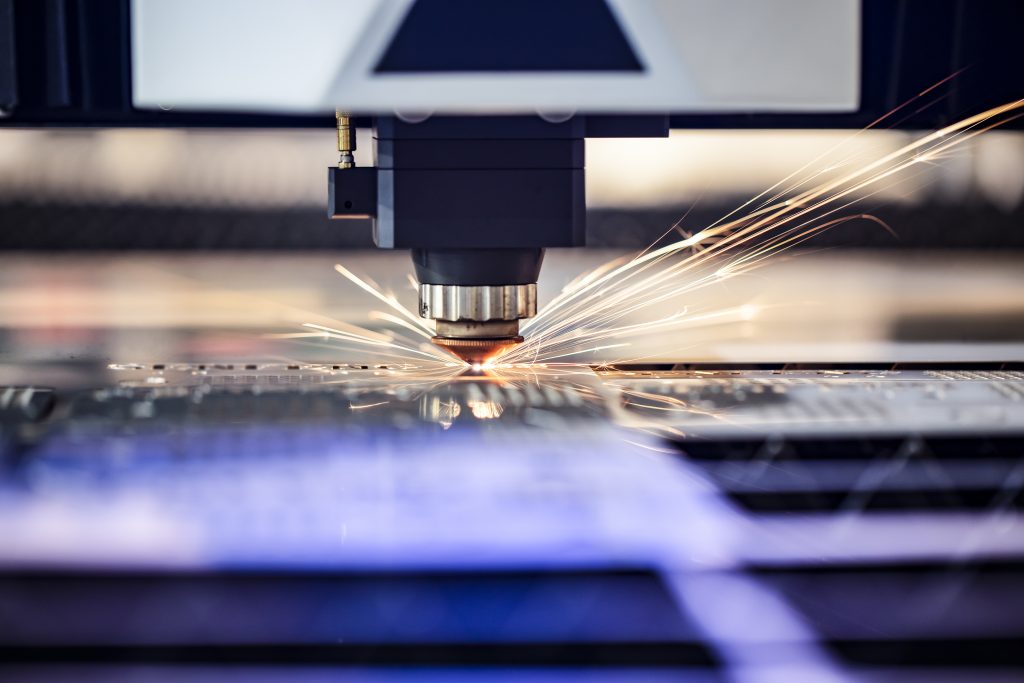
For instance, according to dxtech.com, when you’re using Fiber Laser Cutting Technique, you have to adjust wavelength accordingly to stop the burn marks from occurring.
As you can see, there are many intricate details when it comes to adjusting the laser cutter settings, but in time, you’ll learn how to adjust all of them.
Know Your Materials
What kind of material you’re cutting will also make a world of difference when it comes to preventing burning. Let’s take wood, for example. Softwood and hardwood aren’t the same – we all know that. So, which do you think burns easier? If you thought soft – you were wrong. Hardwood is actually a lot more prone to burning than softwood.
It all basically boils down to how hard is the wood. If it’s soft – it’ll take less power to cut it, which translates to a lesser chance of a burn. With the hardwood – it’s the exact opposite. Stronger laser – more burn marks.
Know The Resin Content
Furthermore, you have to know just how much resin does the wood you’re cutting contain. Essentially, the lower the resin content – the lower the chance of burns, and vice versa. So, if you are planning on working with a high-resin wood such as alder – it is almost expected for it to burn.
Air Assist
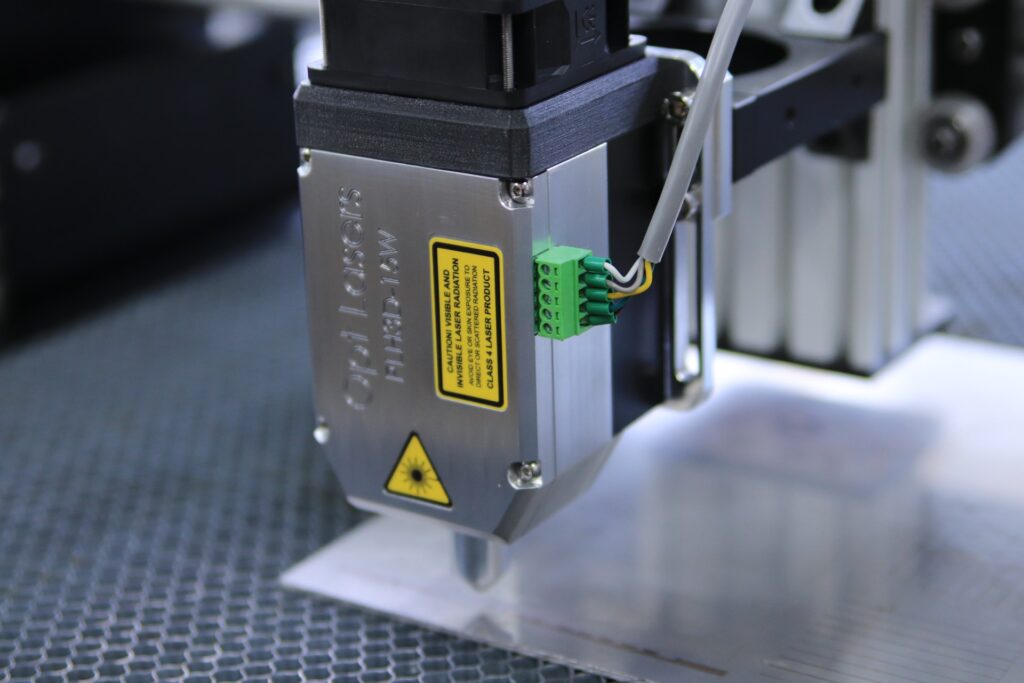
Air assist isn’t for laser cutting newbies. You will have to be an experienced cutter to use air assist to prevent burning. To be fair, sometimes, even this might not be enough, but if you know how to use it – you can try it. It might prove to be helpful.
However, if you’ve never done it – don’t take it lightly. Things could quickly go sideways if you mess this up.
Now, as you could probably guess – sometimes you can’t prevent things from burning. However, what you can do is remove those burn marks. Here’s how.
Use Sandpaper
Sanding the wood is arguably the easiest way to get rid of the burn marks. Depending on the wood, you’ll use appropriate sandpaper, but the safe bet is to start with a medium grit and see how it works and then make the adjustments. One way or another, you’re still going to end up using higher grit sandpaper to add finishing touches.
Use Brush And Pumice Liquid Soap

Using liquid pumice soap to virtually exfoliate the burn marks off of wood is also something you could try. Aside from the soap, you’ll also need a toothbrush to really get in there and remove all the charred and burned bits and pieces. This process might end up being time-consuming if there’s a lot of charring or if it’s a big piece – but still, it will get the job done.
Conclusion:
As you can see, there are two things you can do – prevent and remove burn marks. We’d always recommend preventing them, as it is much easier, but if you fail to do so – you have a few tips on that as well. Hopefully, you’ve found this to be helpful. Take care.